

Spring has sprung. The sun is shining. Green has returned. Flowers are opening and the pollinators have woken up.
A friend asked me to crochet some bees for a Beltane project. I didn’t like any of the patterns I found. While they were all good patterns, they were all just orb bees. The cute fuzzy bee a child would draw. I wanted something a little more true to life. So I made my own.
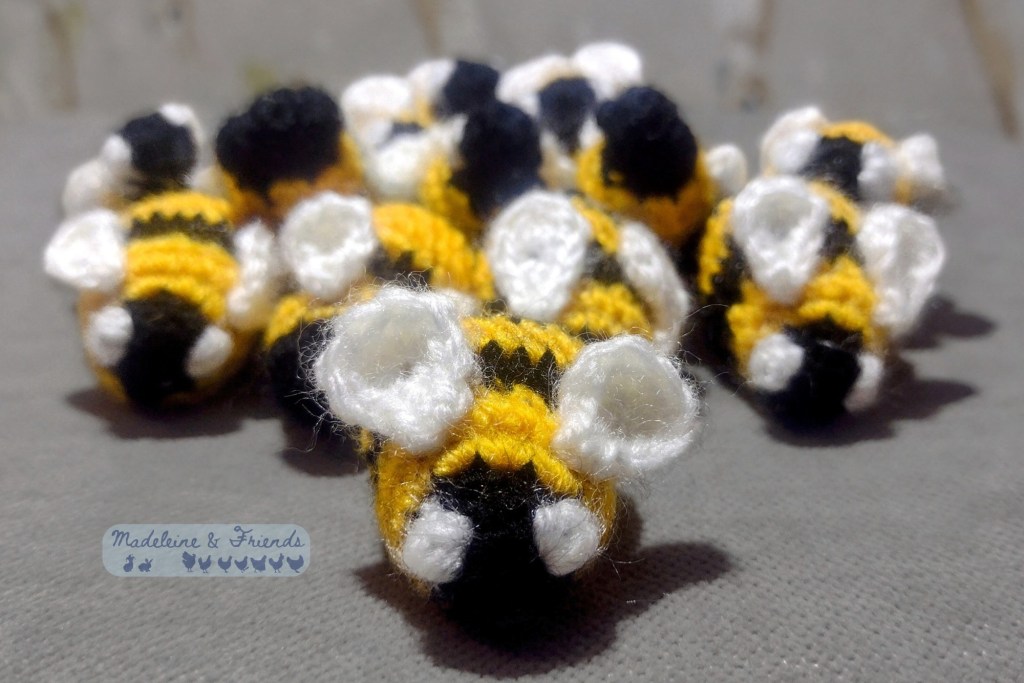
I made a lot of my own…

Follow the pattern below. A PDF pattern, with more notes and photos is available on Ko-Fi and Ravelry, and will soon be available at Lovecrafts. This pattern is suitable for confident/advanced beginners, or beginners looking to try some new techniques. It is worked in joined rounds, includes two small bobble stitches, and several colour changes on the join.
The wings are sewn to the body, but that’s all the attaching you’ll need to do.
For a small, key chain size bee, I used DK and a 2.5mm hook. Specifically Sirdar Happy Cotton DK 43m/20g/47yds.
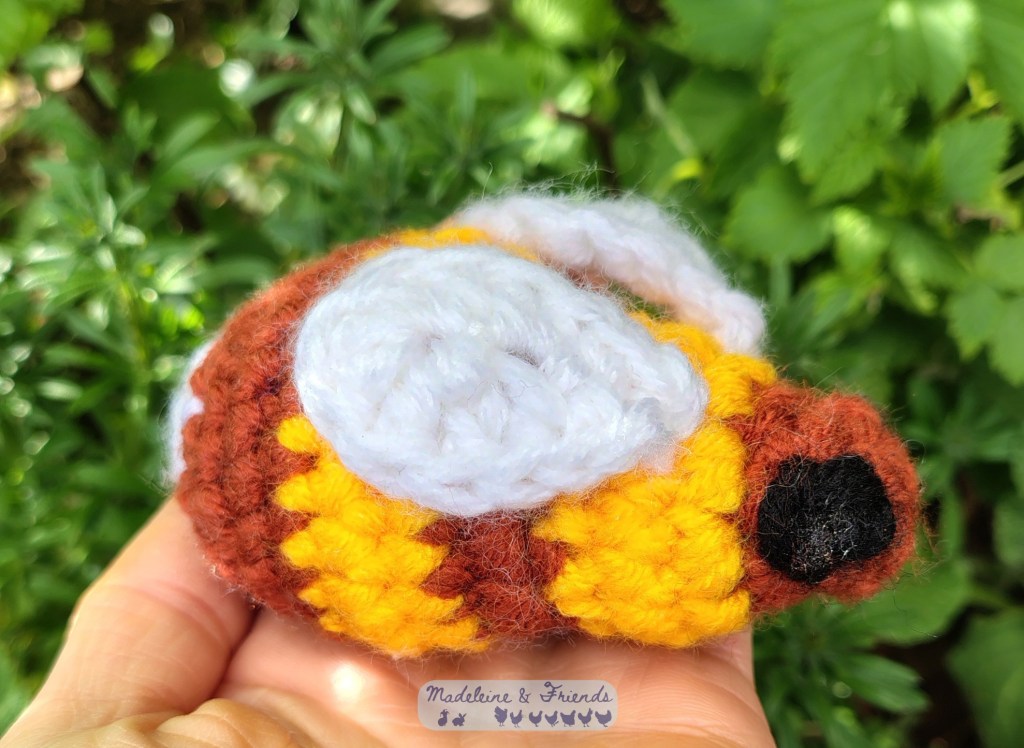
The pattern scales well using heavier yarn, or using two or three strands held together, and larger hooks. The one to the left is 11cm from head to buff tail, and was made with three strands of Yarn and Colors Amazing DK 310m/100g/339yd held together, and a 5mm hook.
For a smoother transition, change to the next colour on the last YO of the last stitch of the round, before the slst.
Yarn Colours
Body 1; BLACK or BROWN.
Body 2; YELLOW or ORANGE.
Tail; WHITE.
Eyes; BLACK or WHITE.
Wings; WHITE .
Body
Start in Body 1.
R01 – 6sc in MR, slst, ch1 (6)
The bo2 stitches in the next round are for the eyes. They can be done in Body 1, or a contrasting colour to make them stand out against the face. If using contrasting colours change to the eye colour on the first yarn over of the bobble. Change back to the face colour for the final yarn over, when you pull through all loops.
R02 – 1sc, bo2, 2sc, bo2, 1sc, slst, ch1 (6)
R03 – [1sc, 1inc] x 3, slst, ch1 (9)
Change to Body 2.
R04 – 9inc, slst, ch1 (18)
R05 – 18sc, slst, ch1 (18)
Change to Body 1.
R06 – FLO [1sc, 1invdec] x 6, slst, ch1 (12)
R07 – 12inc, slst, ch1 (24)
Change to Body 2.
R08 – 24sc, slst, ch1 (24)
R09 – 24sc, slst, ch1 (24)
Change to Body 1.
R10 – 24sc, slst, ch1 (24)
R11 – 24sc, slst, ch1 (24)
R12 – [2sc, 1invdec] x 6 (18)
Start stuffing.
Change to Tail.
R11 – [1sc, 1invdec] x 6, slst, ch1 (12)
R12 – 6invdec (6)
Finish stuffing and close. Secure the yarn tail.
Wings
Make 2. Stitches written in brackets are worked into the same stitch. Leave a long starting tail for attaching the wings to the body.
Ch5.
Starting in the second chain from the hook 1slst, 1sc, (1hdc, 1dc), (5dc).
Now work into the other side of the chains you’ve already worked into. Also work over the starting tail all the way to the end of the chain, so that it can be used to attach the wings to the body.
(1dc, 1hdc), 1sc, 1slst, ch1 to finish.
Leave a long tail for attaching the wings to the body.
Attach between R04 and R05, in line with the eyes, using both tails. The joins should be on the bottom. You can leave the wings standing up as if the bee is in flight, or sew them down against the back, as if she’s at rest. Secure the yarn tails.
And that’s it. Super simple.

Leave a comment